Since doing some research about 20th century British illustrator, Edward Bawden, for my illustration course, I've been dying to try out some linocutting. In fact, linocutting and its predecessor, wood-cutting, are mediums that most of the great artists from Duerer to Picasso have used alongside painting and drawing. So I bought myself a little lino cutting set and thought it would be a great way to produce some handmade Christmas cards.
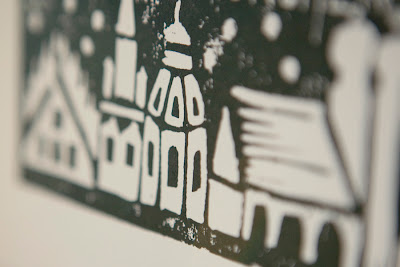
I can't show you the full final result yet, as I don't want to spoil it for the recipients, but here's a little sneak peek:
Here's the process.
1. Work out your design on paper, then draw this onto the lino. Make sure the design is in reverse (I check in the mirror)
2. Then, using special lino cutting tools, cut out all the bits that you want to stay white. You're basically carving out your picture to create a stamp. I recommend using a special linocutting worksurface, which has a corner to hold the lino in place and a lip to fit over the table. This will help avoid injury if/when the knife slips. Also always cut away from you, turning around the lino, if necessary.
3. After cleaning it up, roll the lino ink (I used black) onto the lino, press down a card or piece of heavyweight paper on top of the lino. Then hold in place while you use a spoon to rub the back of the card/paper.
4. Carefully lift off the card/paper and let dry.
5. Repeat steps 3 and 4 until you have all the prints you want (if you are doing lots like I did, you will need to regularly clean up the lino, so it doesn't get all clogged with ink).
I really enjoyed this process. I did nearly 40 prints and every one came out slightly differently. I hope the recipients will enjoy their little piece of unique Christmas artwork.


Cool process. Thanks for sharing.
ReplyDeleteThe cards look good! I want to do this! Maybe I have to get myself some lino cutting tools for christmas. A little bit too late for christmas cards though, maybe I can do some easter eggs ;)
ReplyDeleteThanks so much for the fab instructions and tips! Can't wait to see the finished project.
ReplyDeletethis looks like so much fun to do! i love the results...
ReplyDeletethanks for posting!
xox
Very clever!
ReplyDelete